Here is the formula for the area of a reuleaux triangle:
Geometrically speaking, it is a curve of constant width.
1) Get a blank piece of 8½ by 11 inch paper.
2) Draw an equilateral triangle by doing the following:
a) Near the bottom of the paper, draw a 10 cm horizontal line.
b) Set the compass precisely for a 10 cm radius.
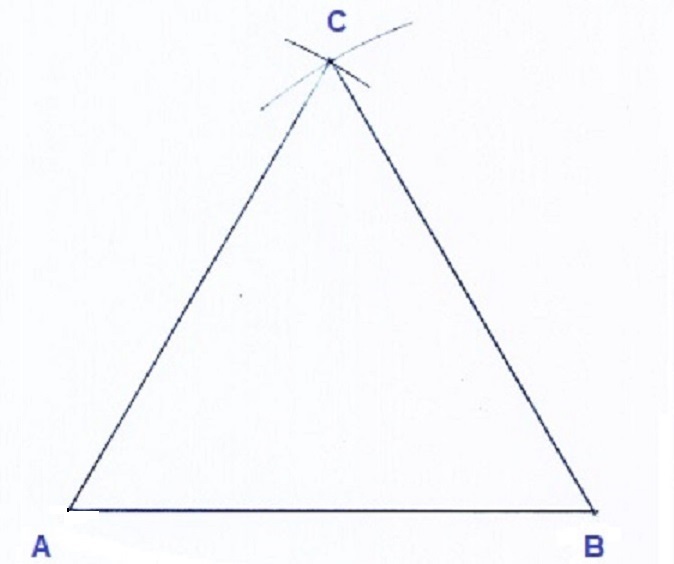
c) Put the compass point at one end of the line and strike an arc above the line.
d) Put the compass point at the other end of the line and strike another arc, making sure the 2 arcs cross.
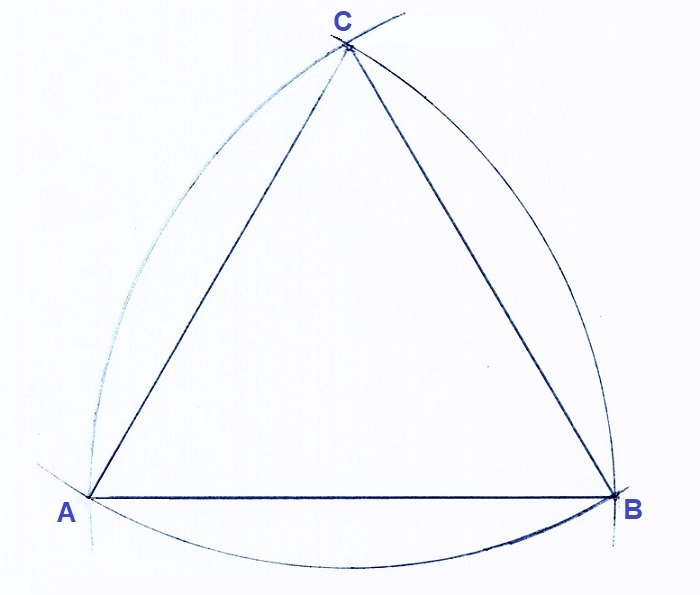
4) Put the compass point in point A and draw a semi-circle from Point C to point B.
5) Repeat this process from point C and point B and when you are finished you have a Reuleaux triangle!
If you have a Windows™ computer, then you will have access to a program called Microsoft Paint™. Yes, it comes free with Windows and it is more than adequate to draw a Reuleaux triangle.
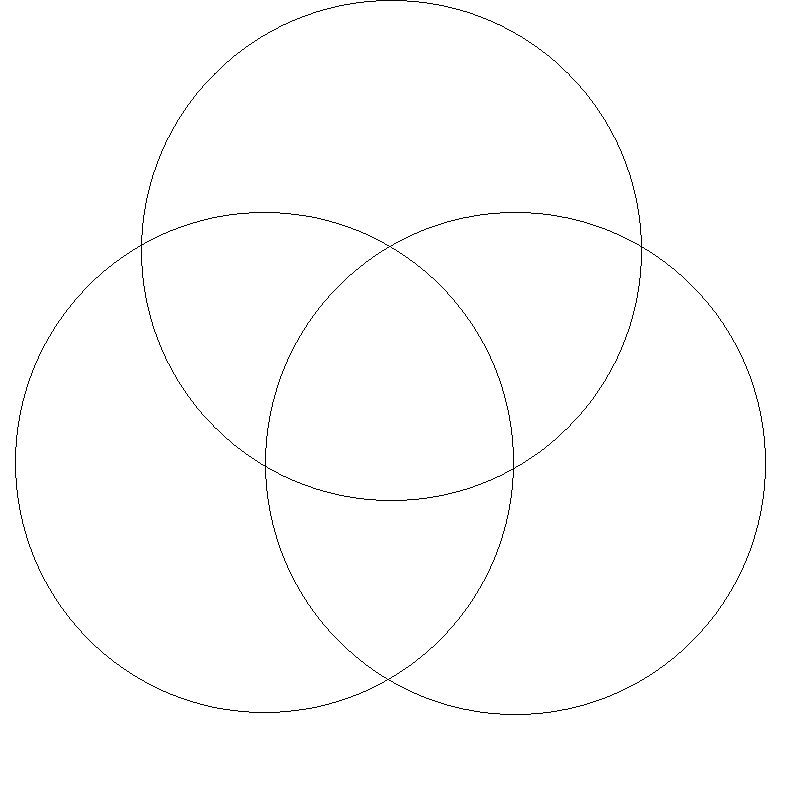
1) Open Microsoft Paint to make a new graphic. Just to make sure you have enough room, set the image size to about 1,400 by 800 pixels. Set the image color to black, click the "circle" icon and change the size to 1 pixel.
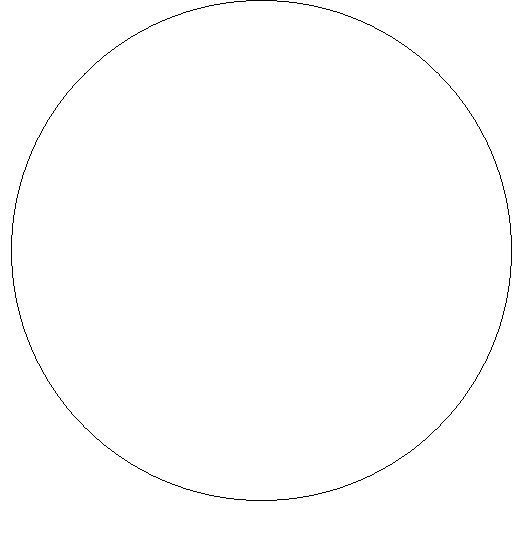
2) Move the mouse to the top of the page until you see the numbers in the lower left read 500, 0. While you are at the 500, 0 mark, click the left mouse button and continuing to hold it down, move it until the numbers in the lower left read 1001, 500. At this point release the mouse button and you should have an image that looks like this:
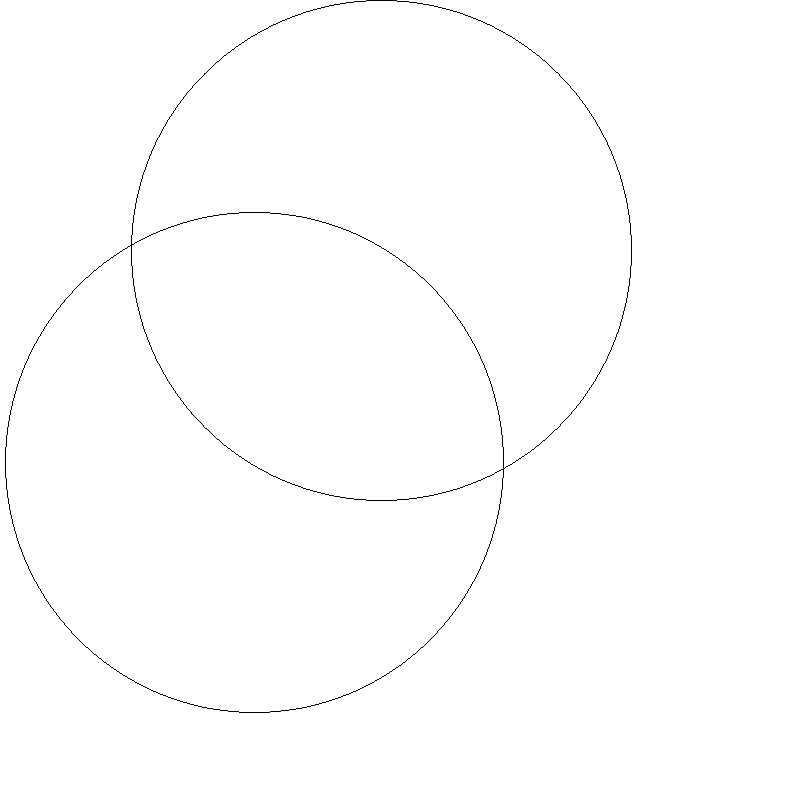
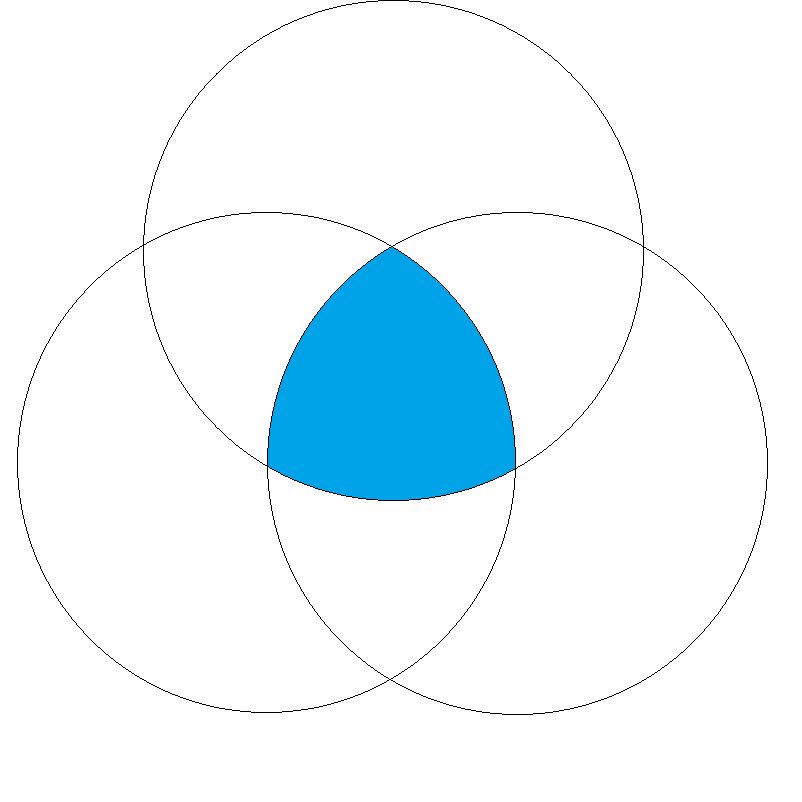
4) Click the mouse button and while holding it, move the mouse to position 876, 712 then release the mouse button.
5) Your graphic should now look like this:
7) Your graphic should now look like this:
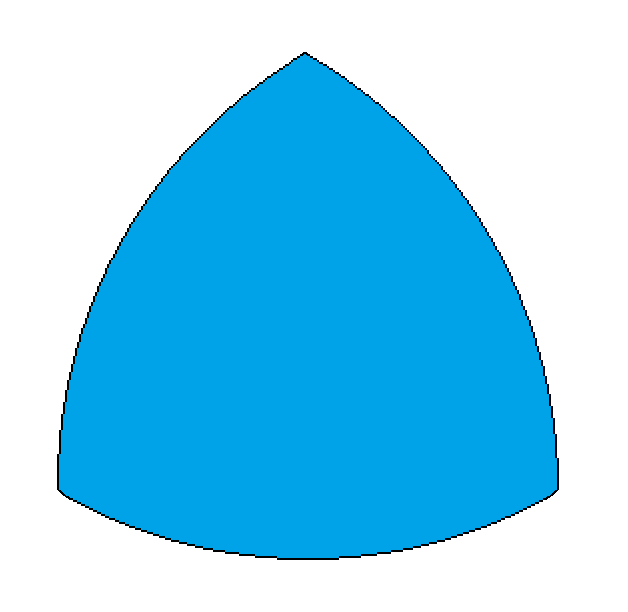
Pictured above is a Reuleaux triangle, named after German engineer Franz Reuleaux (1829-1905). 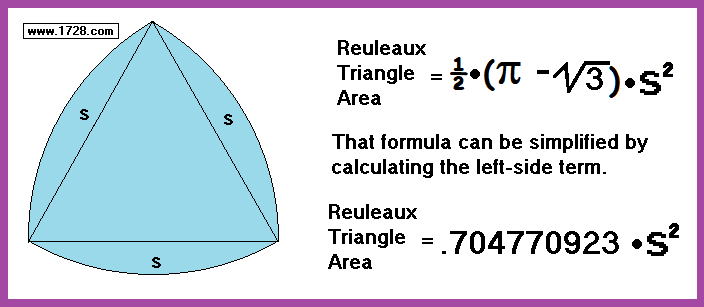
Seen below are everyday objects which utilize the shape of the reuleaux triangle.
The reuleaux triangle is an interesting geometric figure and can be easily drawn.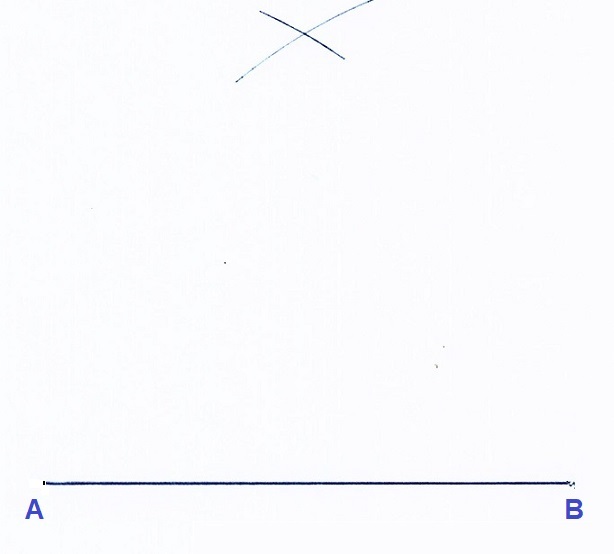
e) Using the ruler, draw a line from the crossed arcs to one end of the line at the bottom (point A), then draw another line from the crossed arcs to the other end of the line at the bottom (point B). You have now constructed an equilateral triangle.